With an internet already filled with amazing feats of pushing through multiple countries and tales of sleeping under the stars and crossing Tibetan mountain passes, it feels almost a little pathetic posting about a sub 100k two-day trip, relying on hotels for accommodation and even a bit of taking-the-train corner-cutting on the way.
But hey, it was fun, hope to do more, and so I’m writing this down for my own future reference and for anyone else who’s ambitions are more in the realm of “what can I do on a weekend?”.
The Plan
Planning a skateboarding trip is really hard, as it’s difficult to predict surfaces, hills, traffic, and general “skateability”.
Worst case you’ll find yourself having to walk large parts of the trip, wreaking havoc on schedule (and feet.)
What I did was:
- A few trial runs: 10k, 20k, 40k.
- Set a rough distance based on that.
- Used Google Maps to plan a route, get a feel for climbs, descents, and road conditions.
I settled on an (overly ambitious) 110 km course split across 2 days starting from the Tokyo Sky Tree Tower and ending at the Inubosaki Lighthouse on the East coast of Chiba, with a stop near Narita Airport in between.
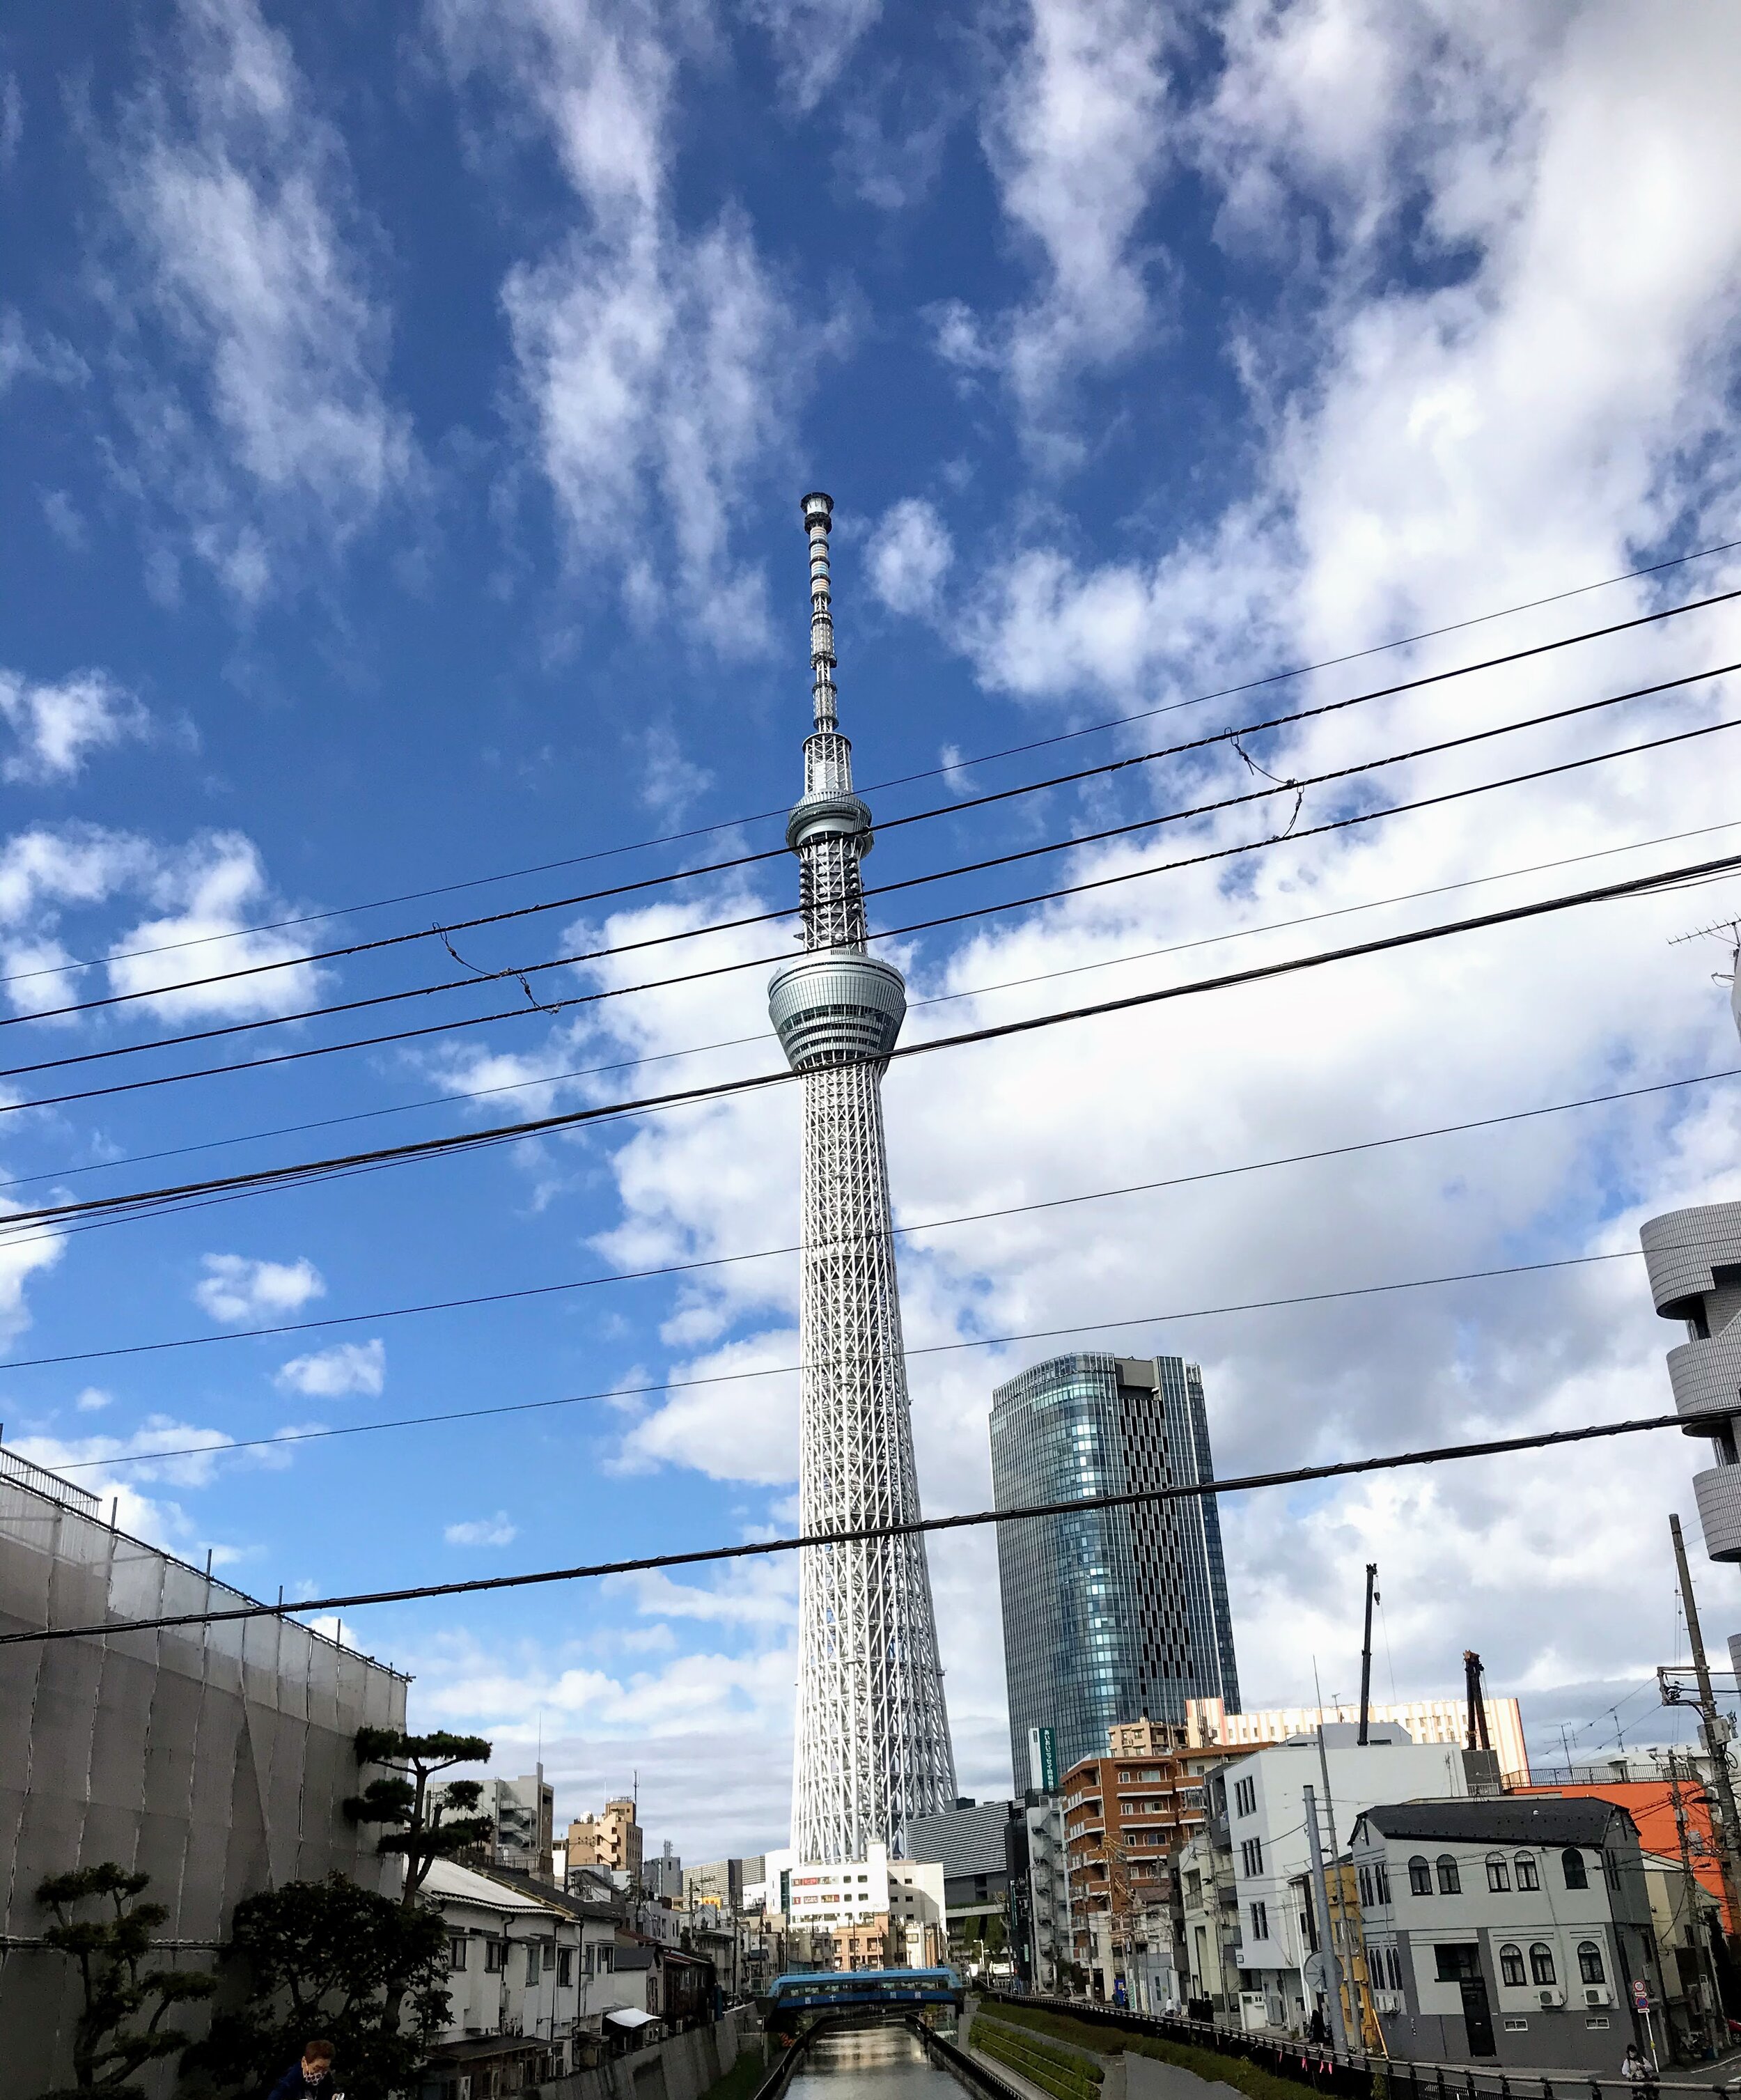
Day 1: Sky Tree → Narita (56km)
I arrived at the base of the 634m tower around 9:30 in the morning:
After skating for a few hours, I realized the first in a series of mistakes I made during the trip:
Mistake #1: I’d started the trip too deep inside the city.
I’d gotten attached to the idea of going from one tower to another, but neglected to properly check the terrain of the first part of the trip.
In my head, I had pictured calmly cruising through rice paddies and rural vistas, but instead, I spent most of the first day skating Tokyo and Chiba backstreets trying to “escape” the city.

Only sometime late afternoon, the scenery suddenly changed and started to look more like what I had imagined.
I didn’t get to enjoy it for too long though, as I ran into:
Mistake #2: Underestimating the time needed, and how soon it got dark.
This was October, so I had noticed the days getting shorter but hadn’t cared to properly check the time of sunset.
As the skies started to turn orange and purple, what was meant to be an enjoyable cruise became a nervous race against time - one which I ultimately lost as the sun went down and everything went pitch black.
This brings us to…
Mistake #3: I hadn’t packed a torch or headlamp.
Without a reliable light source (I did give the flash on the phone a go) and not wanting to take the risk of skating an invisible and unpredictable surface, I was resigned to walking the last 3 hours or so.
Unfortunately, this also coincided with encountering a particularly drab piece of road that had me walking on the shoulder next to busy traffic.

Eventually, however, I started seeing low-flying planes on the horizon and knew I had arrived.
After buying some food at a nearby Thai restaurant (that only had reviews by aircrew members) and checking into the hotel (where the staff seemed perplexed that I wasn’t there to catch a plane), I watched half a movie and went to bed exhausted.
Day 2: Narita → Choshi (54 30km)
The next day, worried that I might once again have to race the clock, I left the hotel super early.
However, as soon as I set foot on the board, I realized my next mistake.
Mistake #4: Going too long on the first day.
I have a temperamental left knee, that will suddenly stop cooperating when put under strain.
I knew it might become an issue, but was disheartened to feel that it’d already manifested itself on the morning of day 2.
Having not invested in a drop down board (which seems to be the preferred choice for going long distance), pushing and braking takes a toll.
That meant the following stints became an unpleasant game of “knee management”, and I ended up walking/limping large stretches even though the roads were perfectly skateable.
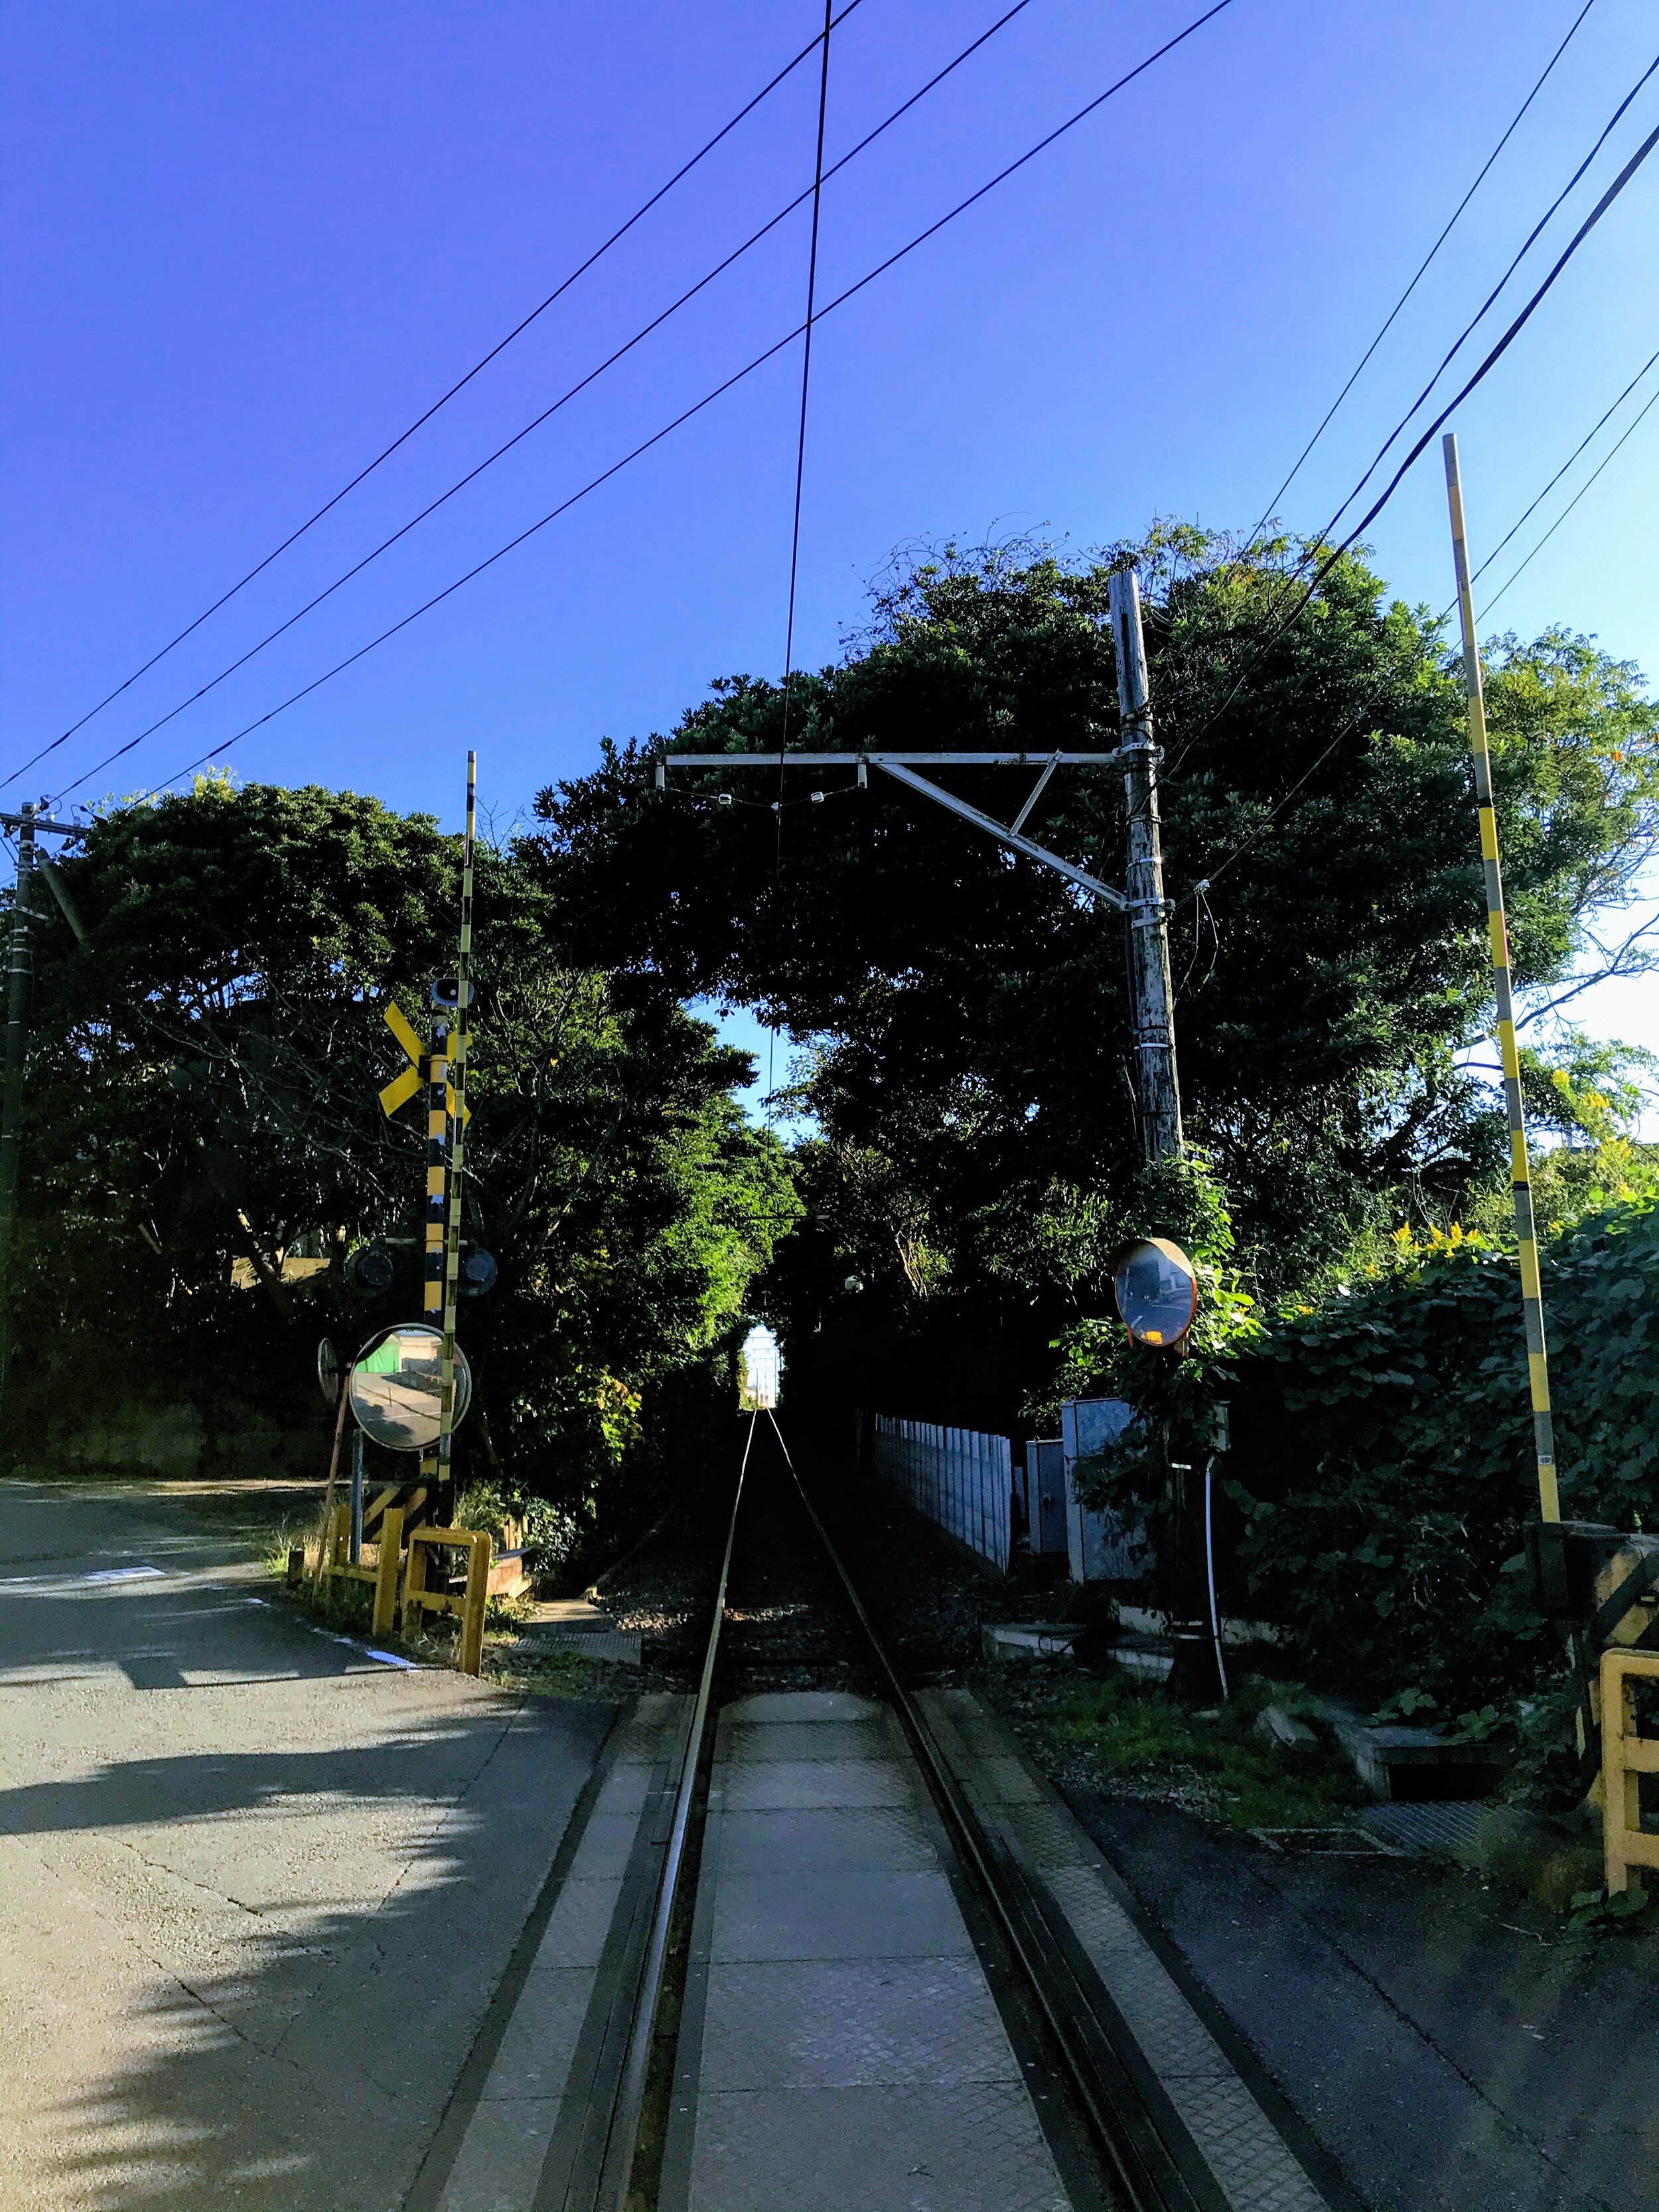
In fact, the scenery had improved tremendously from the day before and was now quite pretty and varied:
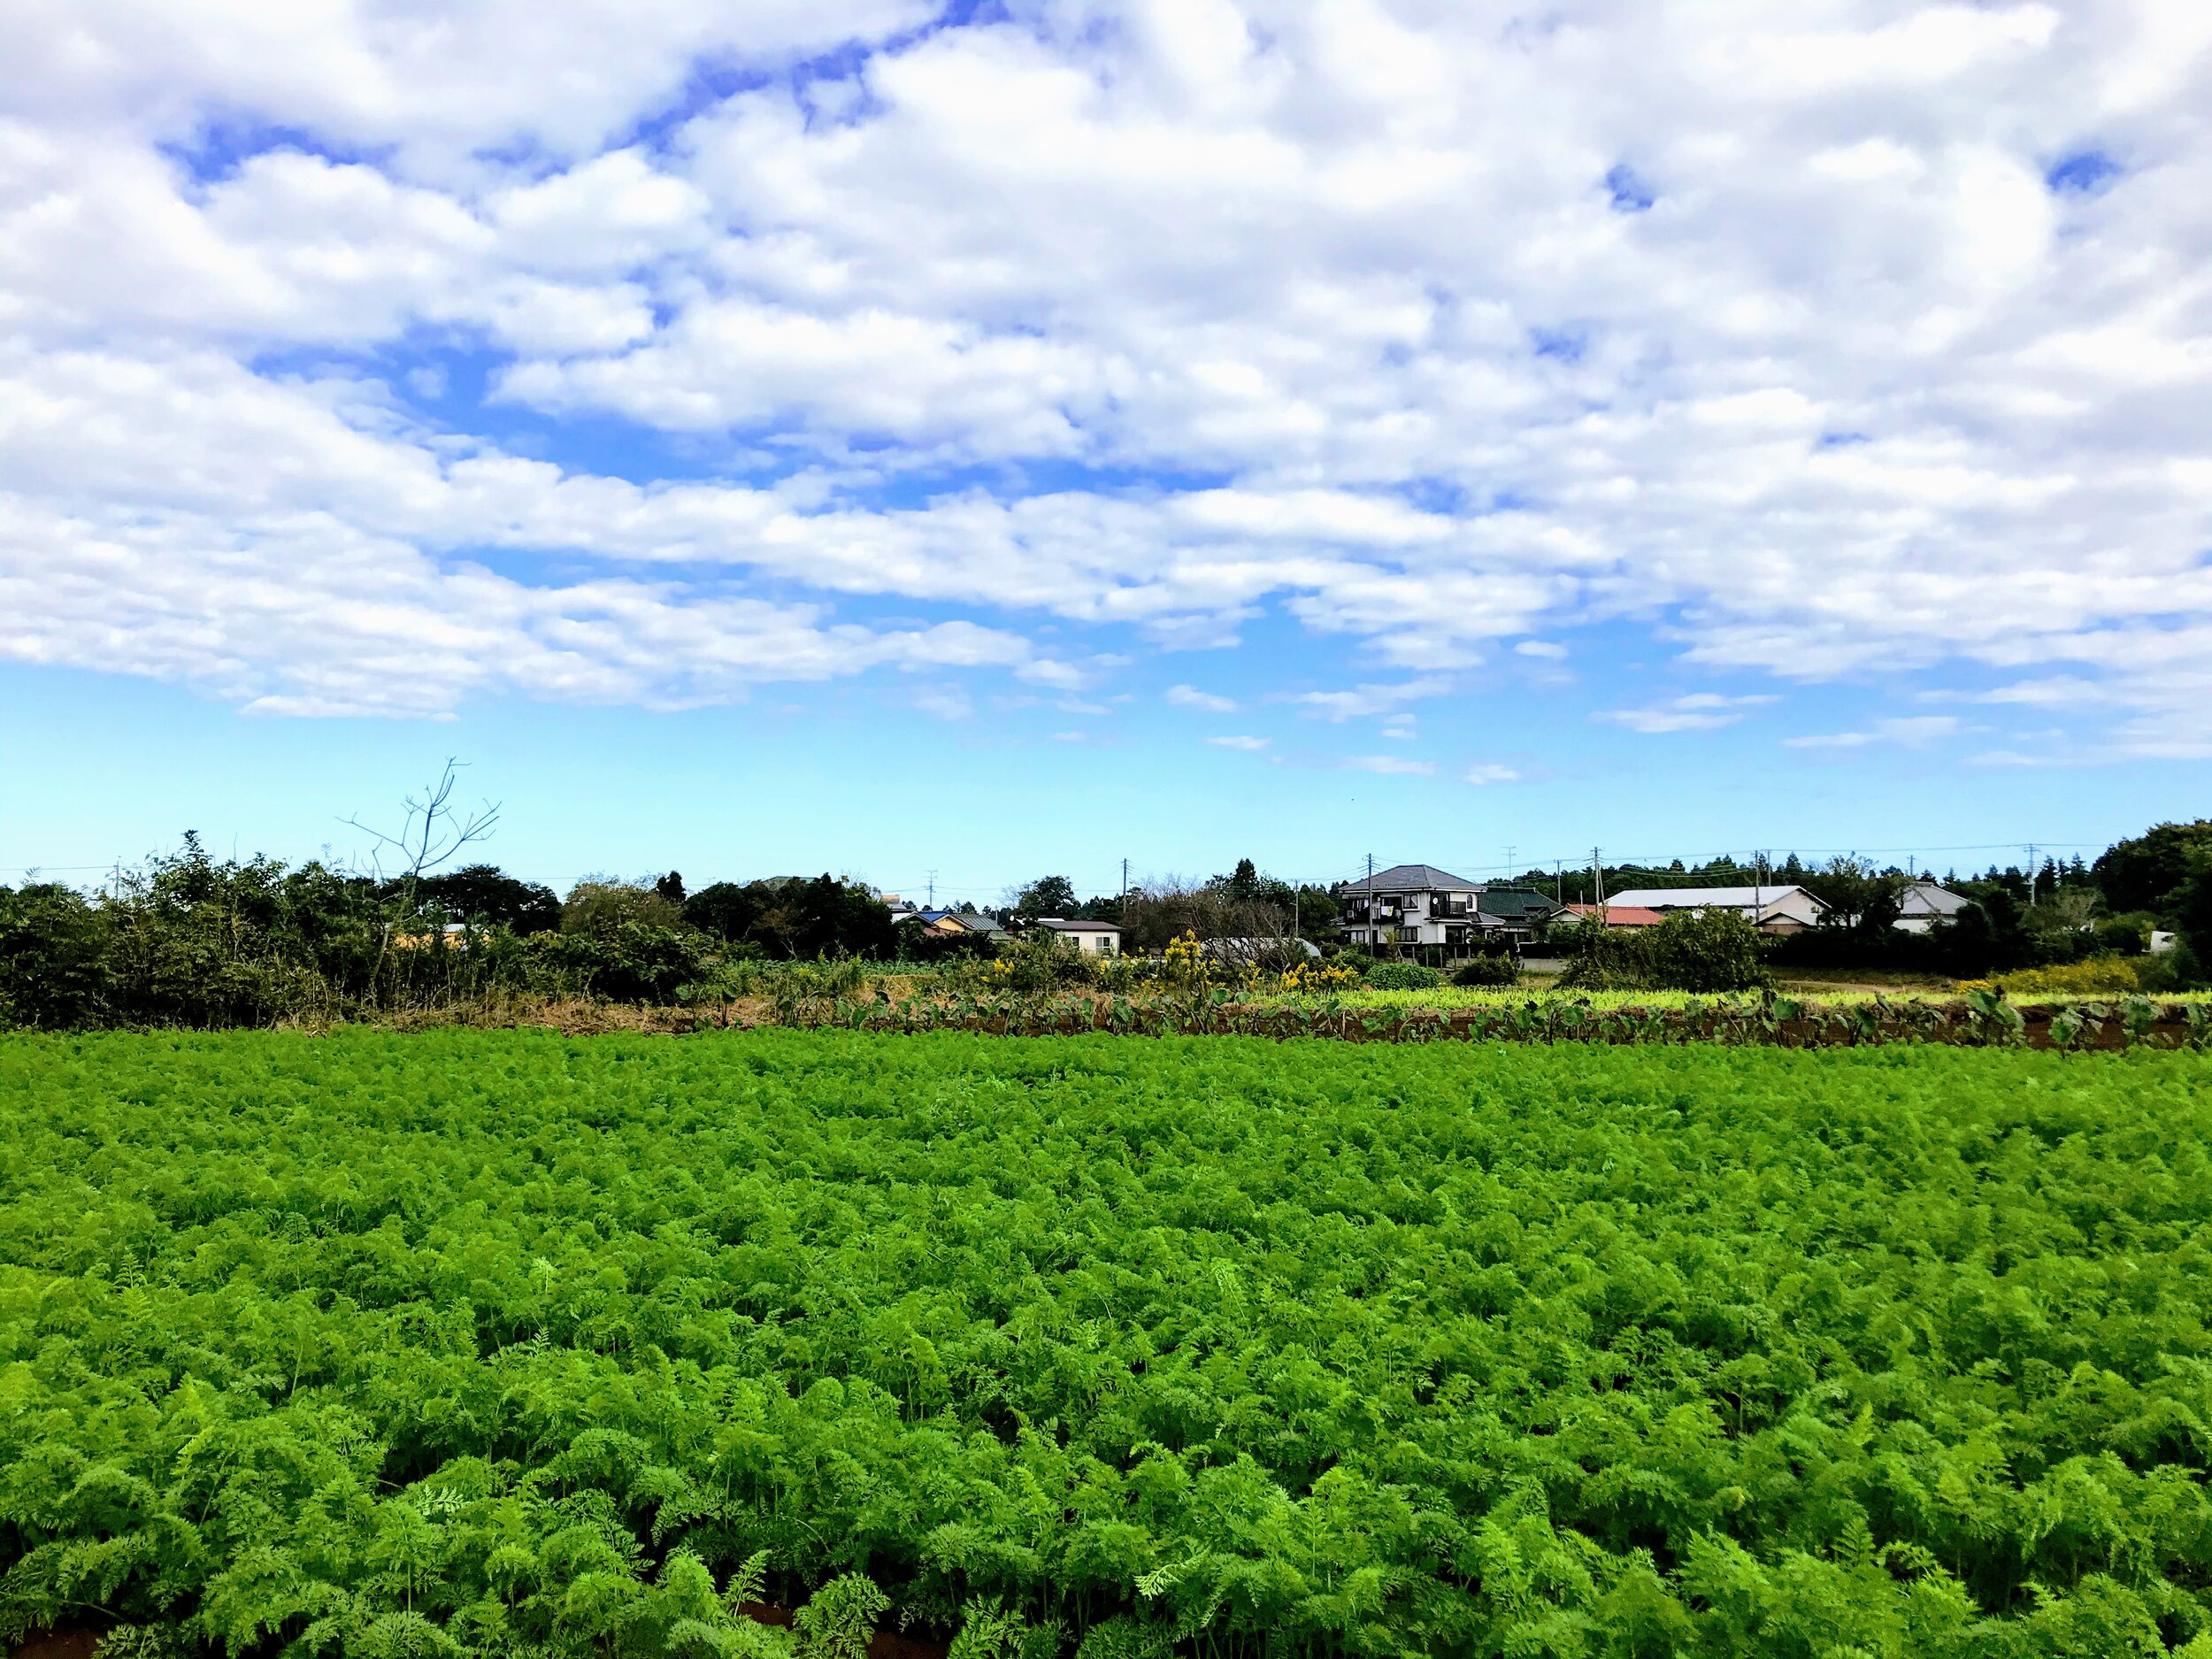
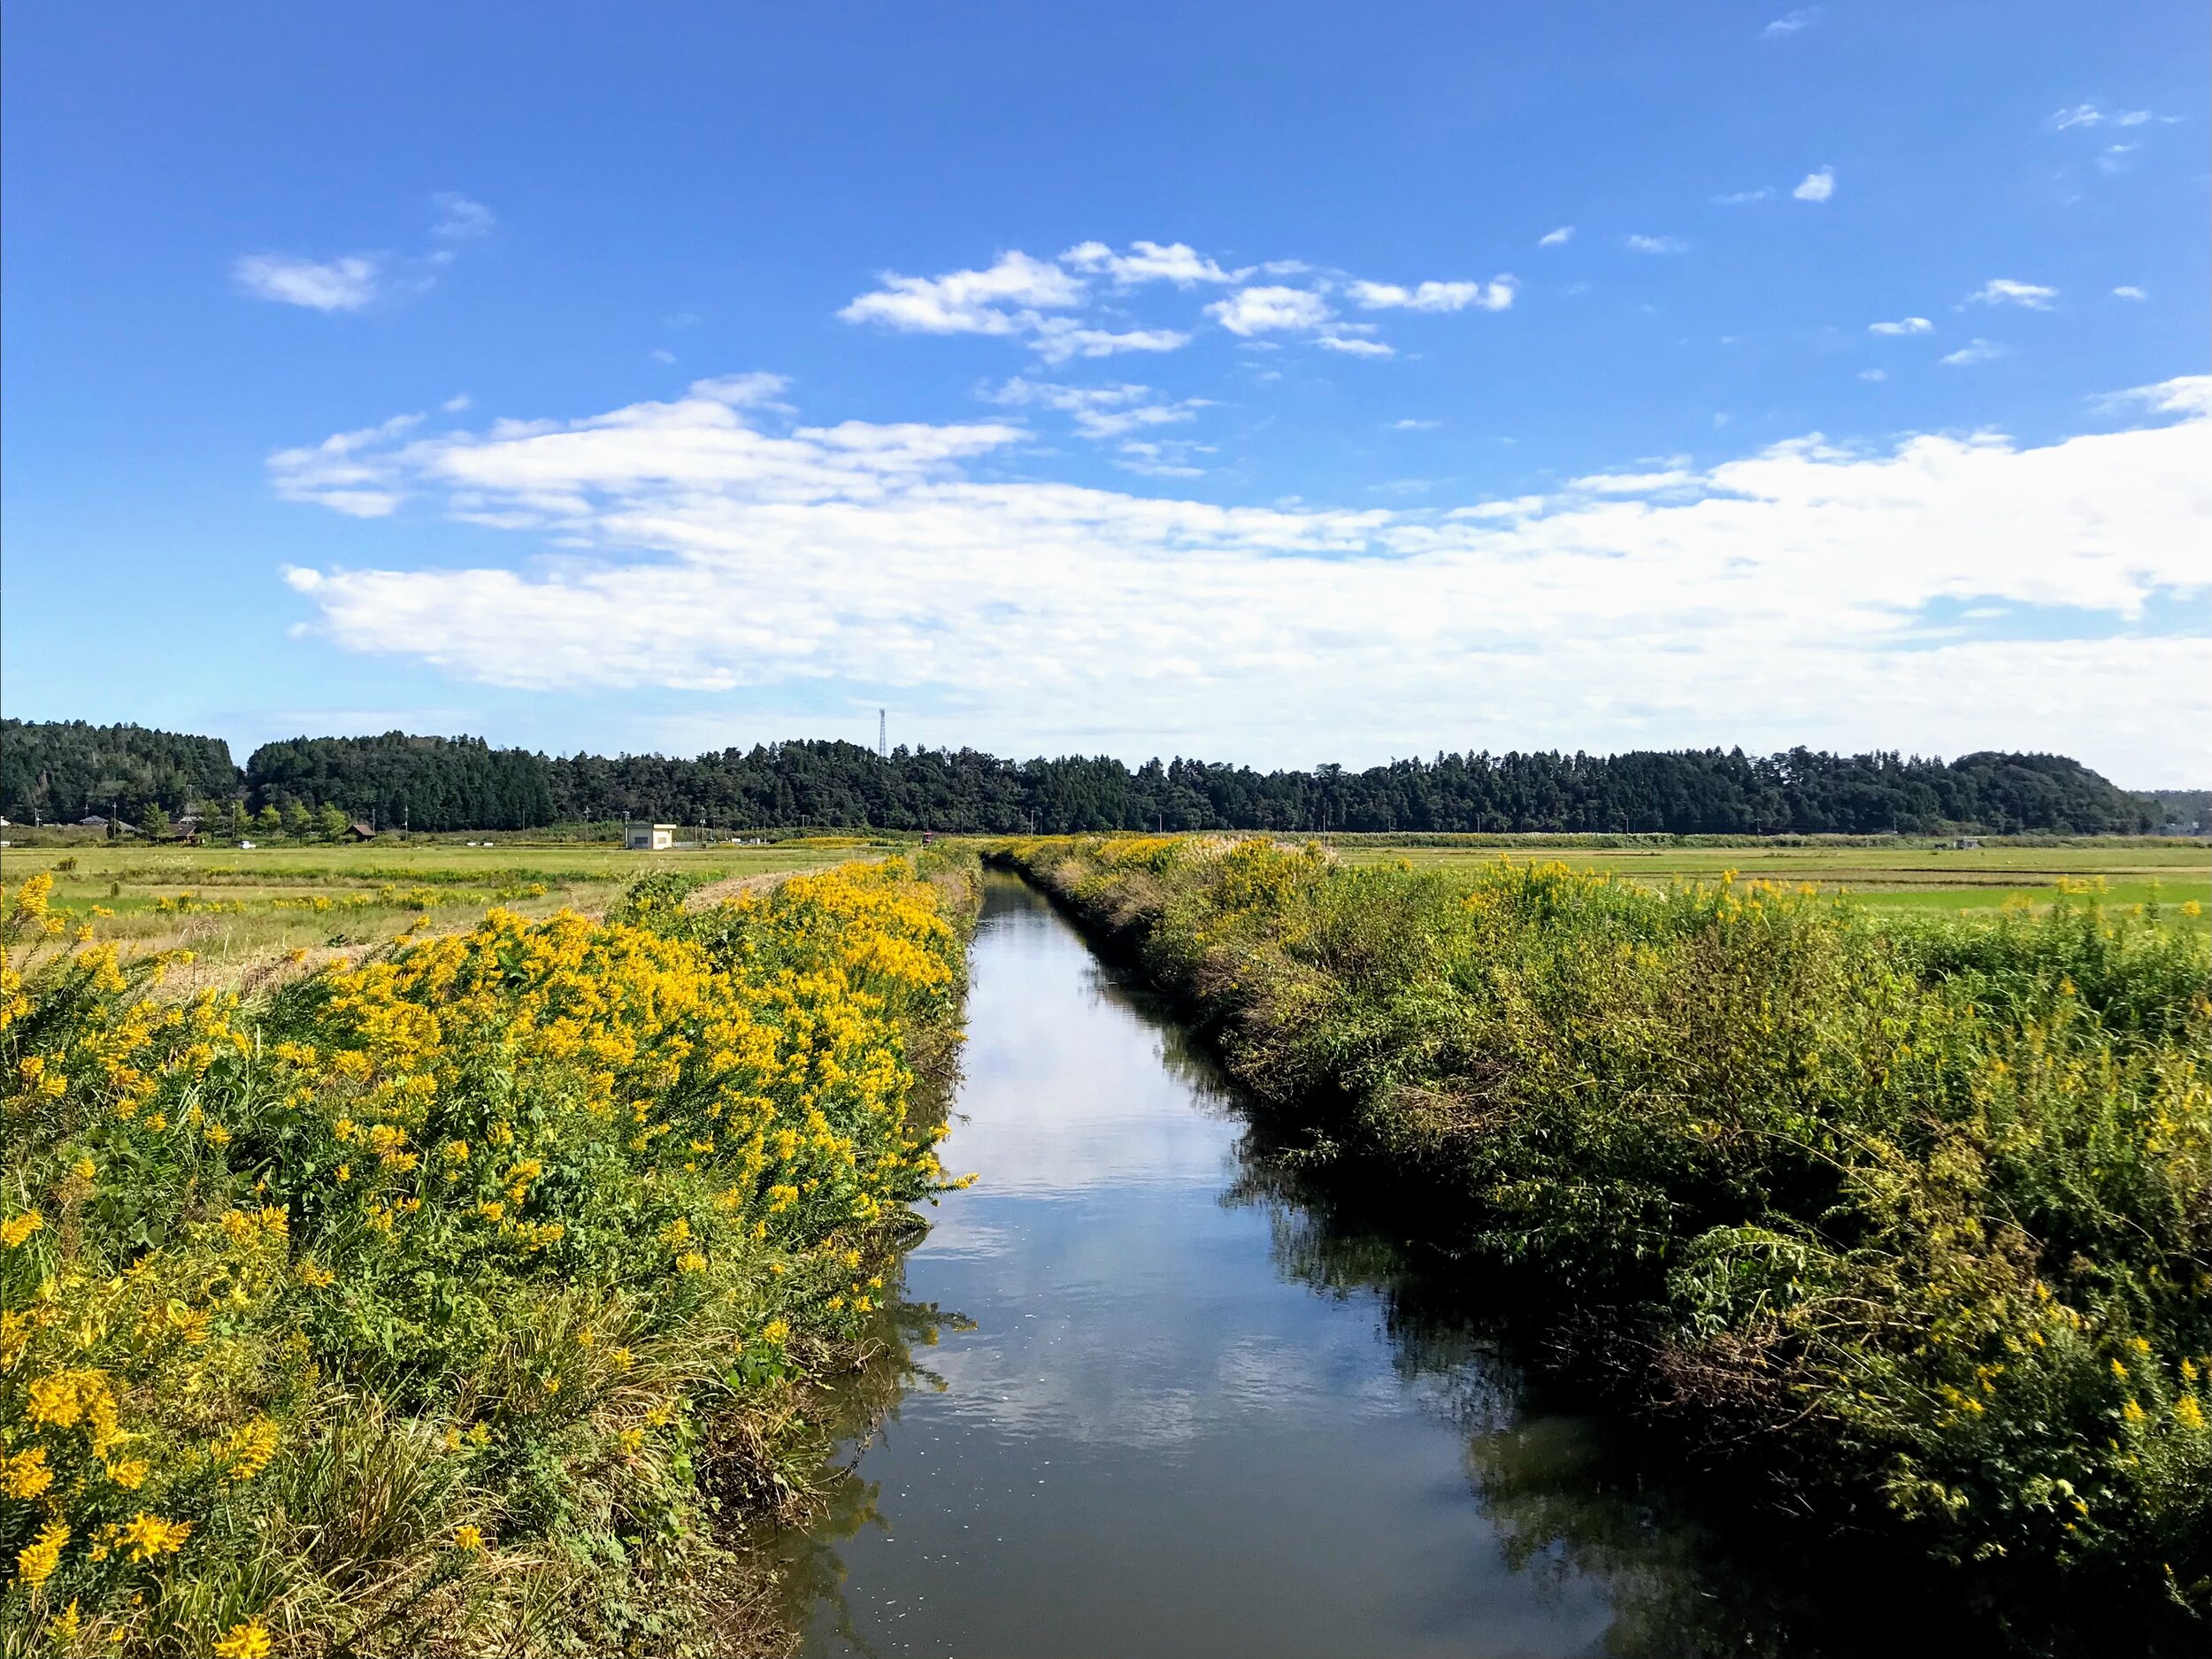
I was now literally in the rice paddies, which meant some interesting surfaces to traverse, but generally was a ton of fun.
The combination of skating/walking/limping eventually got me to a small cafe where I had lunch and surveyed the road ahead on my phone.
I then realized to my dismay, that the bulk of the remaining trip would be similar to what I’d gone through the night before: Heavily trafficked roads with no real sidewalks or skate friendly lanes to speak of.
While an alternate route was possible, it would be a massive detour adding significant distance to the trip, and considering the state of my knee just didn’t seem like a reasonable option.
In other words, this was:
Mistake #5: Not properly planning the last leg of the trip.
I therefore begrudgingly decided to “cheat” by skating to the nearest town with a train station and essentially skipping that section of the plan, neatly slicing about 25k off the originally planned 110. 😅
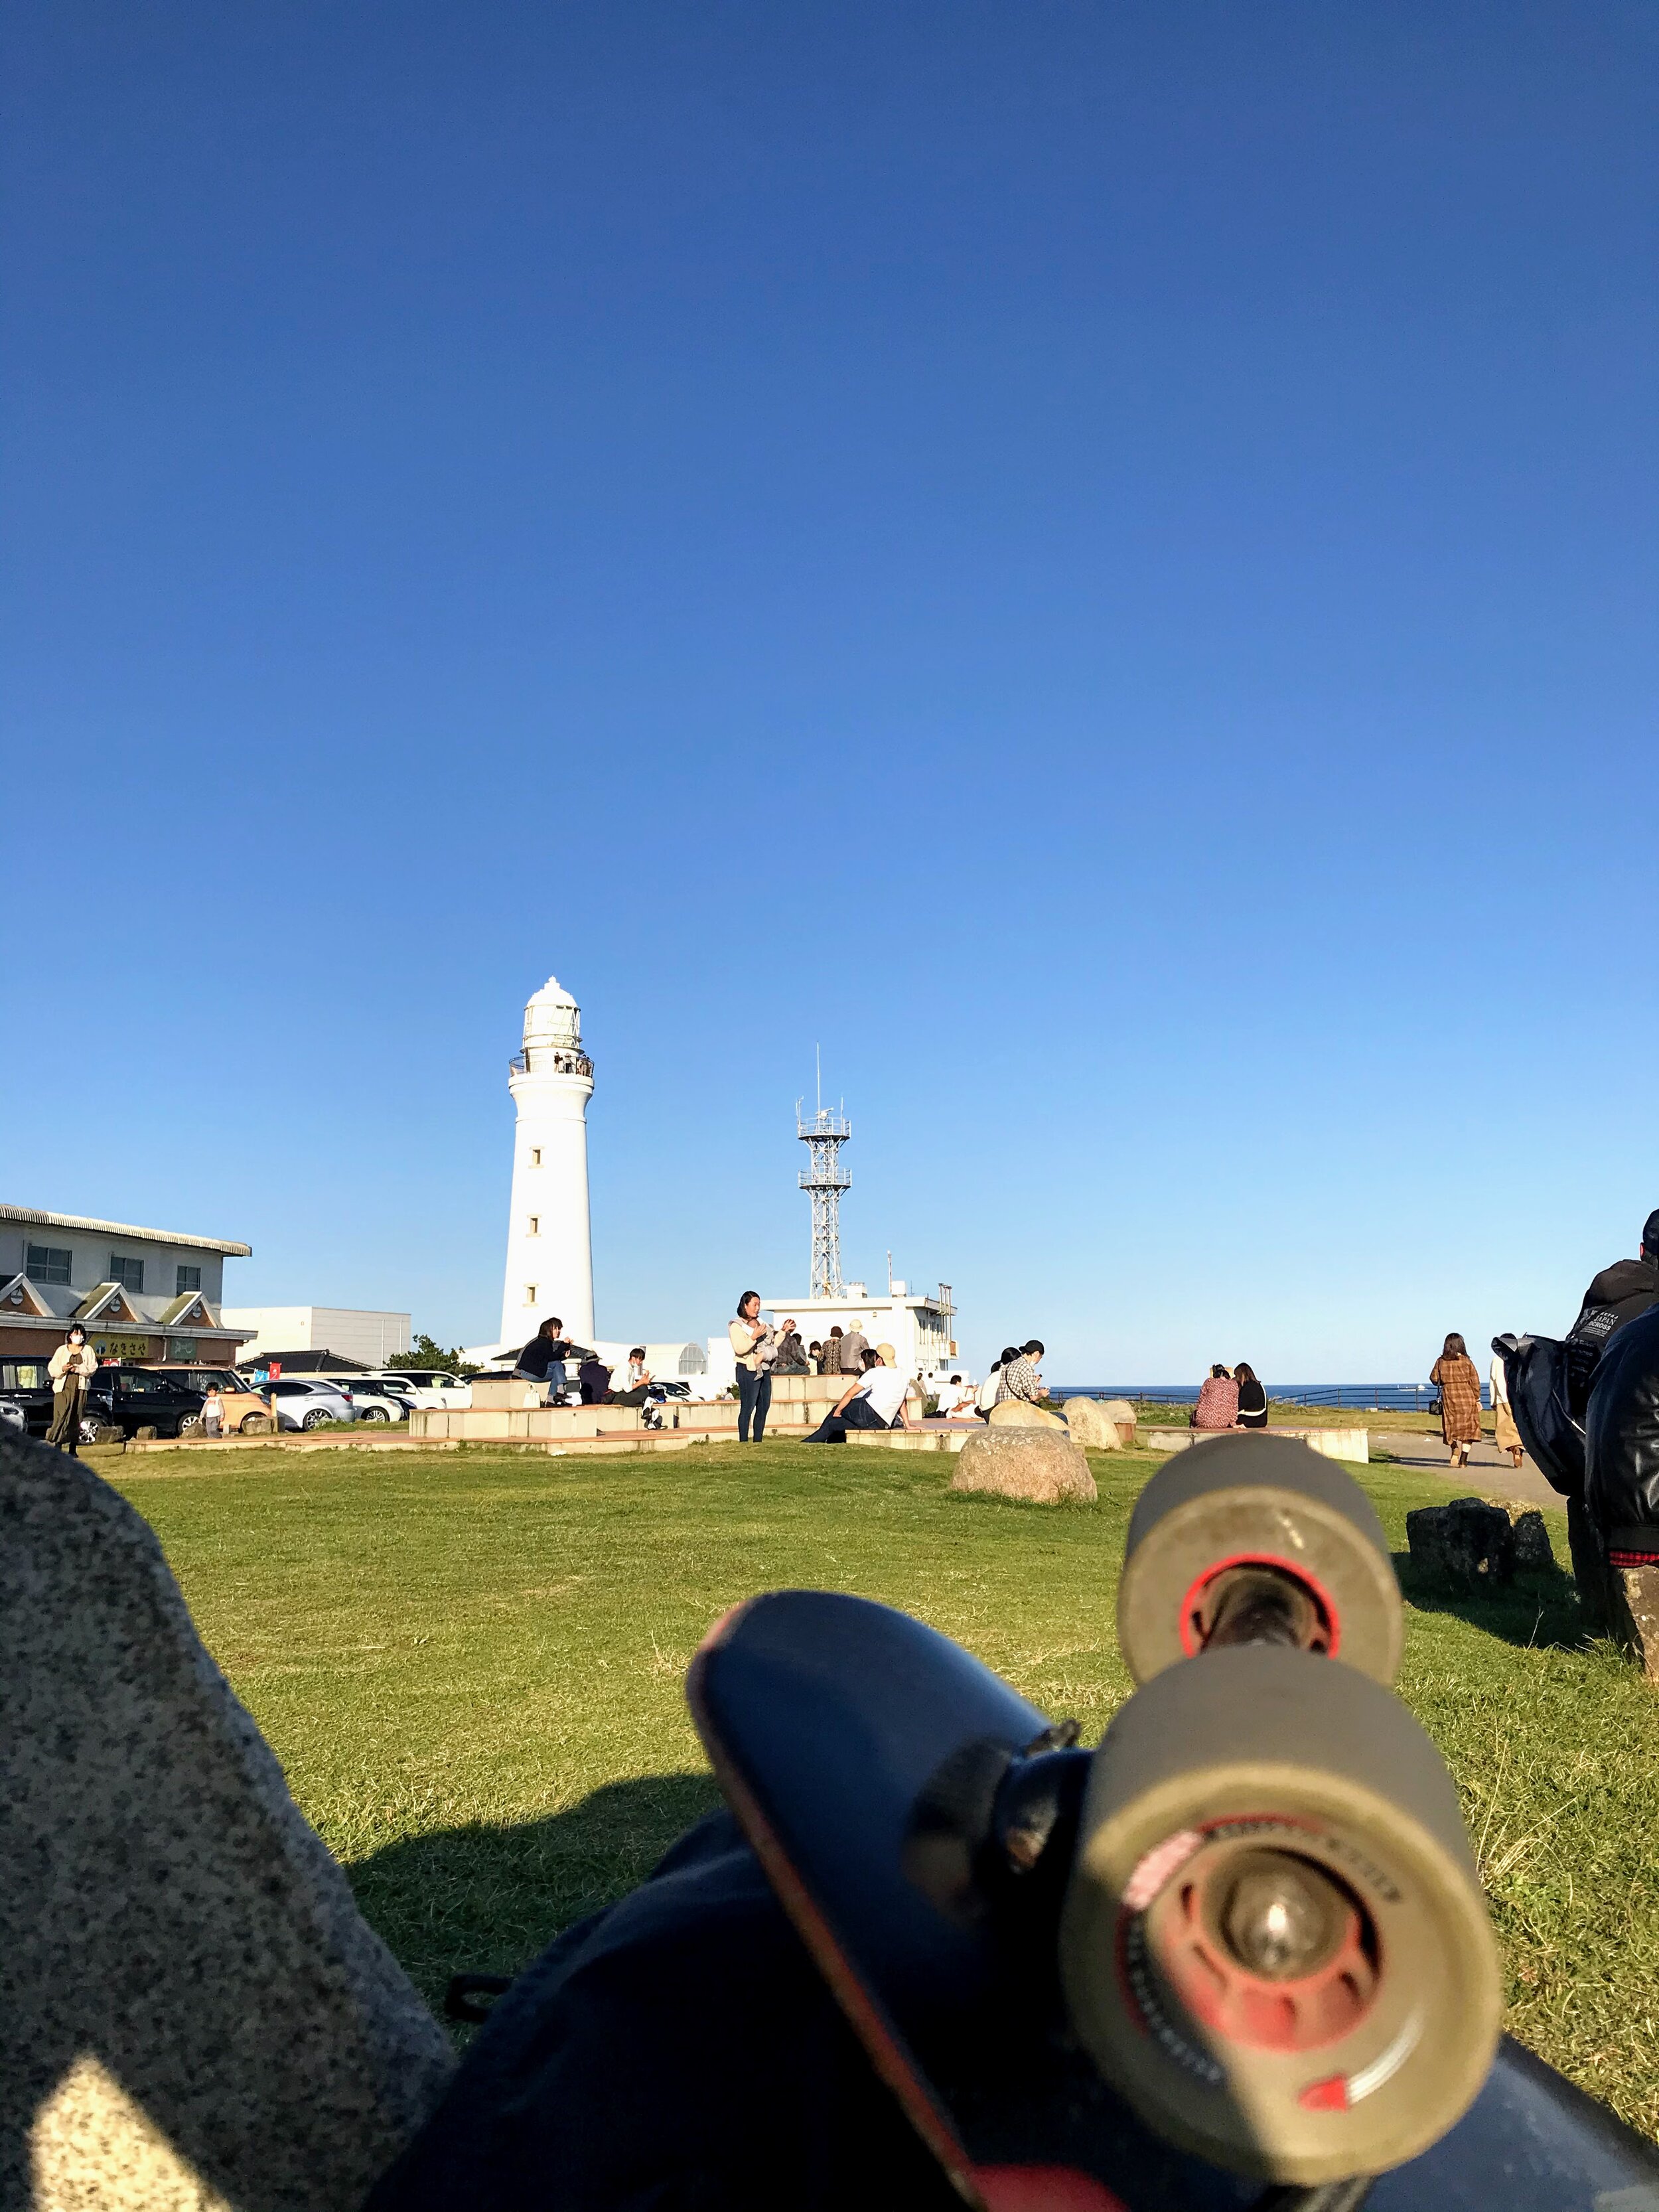
This took me to Choshi station, from where it was a manageable 5 kilometers to the lighthouse, going through some pleasant rural towns and arriving at the coastline with the sun still up.
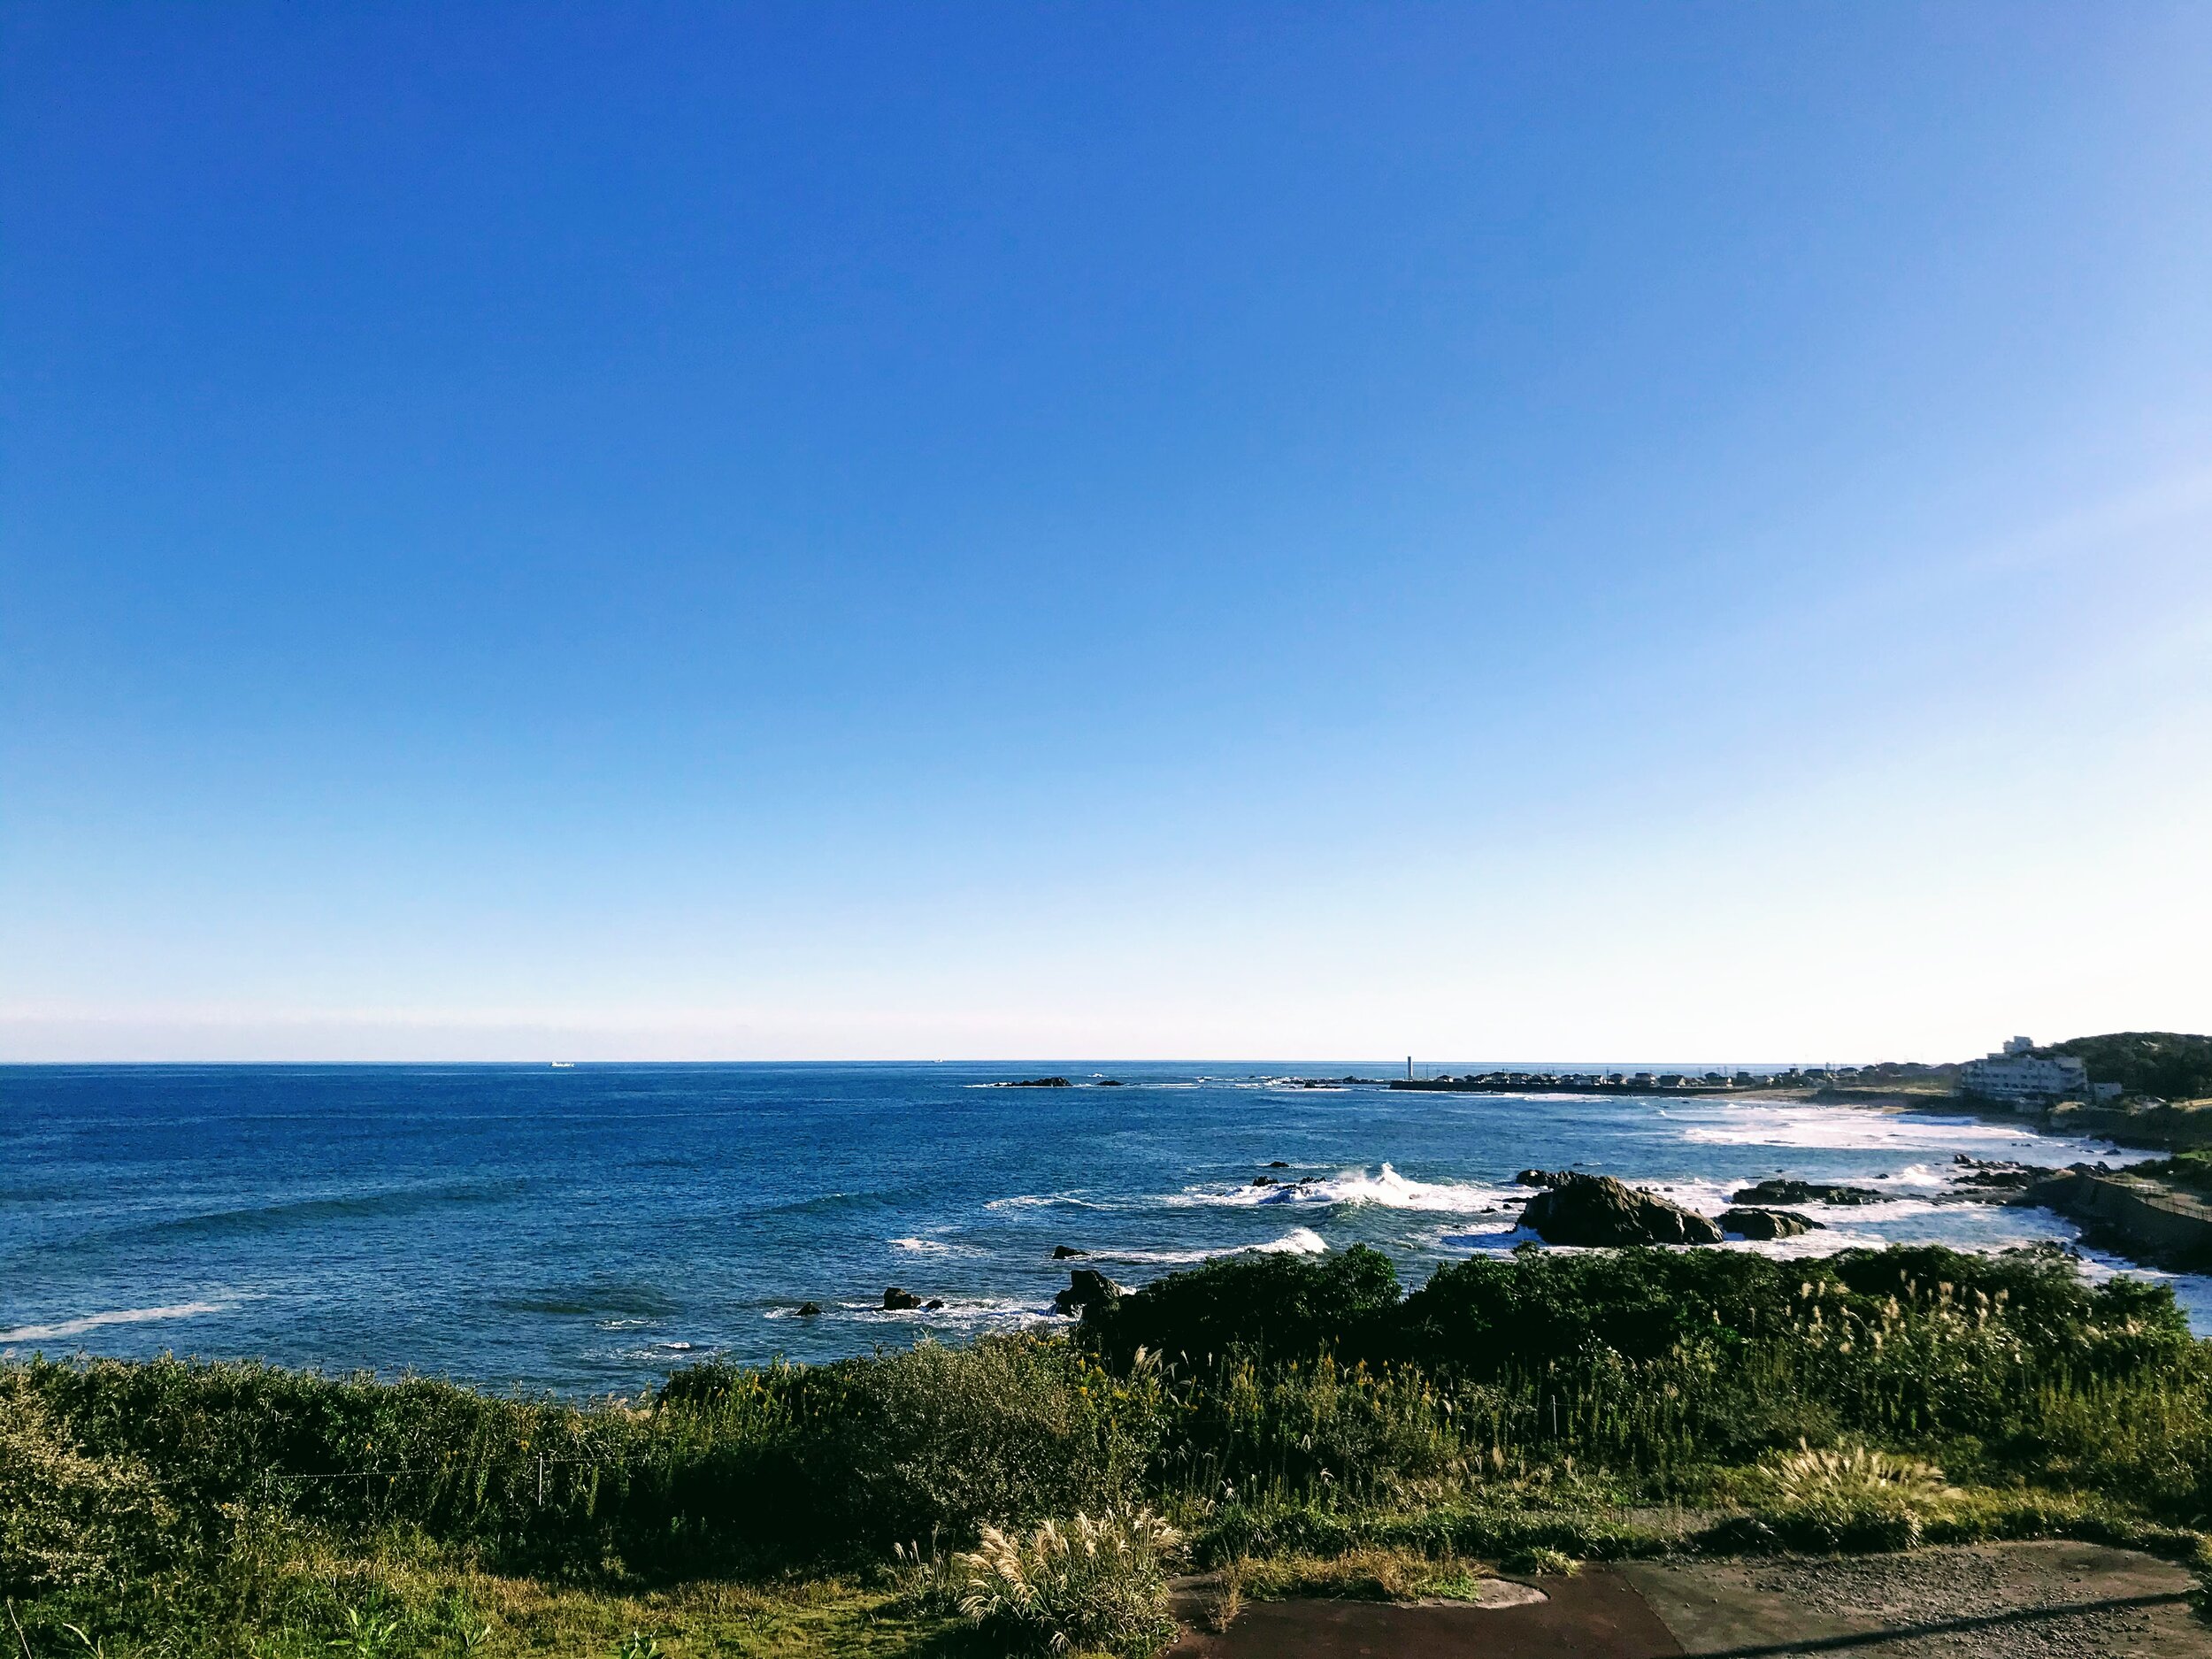
With that, there was nothing left to do, but to treat myself to a cup of coffee and enjoy the view of the ocean.
Map
The route I ended up taking looks something like this:
Gear
Heavily inspired by this page, I probably went a bit over the top for two days 😂, but these are the things I brought:
Board
Pack
Supplies
- Osprey 1.5L water reservoir
- 5 granola bars
- Candy
Clothes (to wear)
- Helmet
- Wrist braces
- Knee supporter
- Trail running shoes
- Montbell trainer
- T-shirt
- Undershirt
- Shorts
- Nylon Belt
- Underwear
- Smartwool socks
Clothes (in pack)
- Packing cube for laundry
- 2 Packing cubes for clothes
- Montbell Storm Cloak wind breaker
- T-shirt
- T-shirt for sleeping
- Lightweight hiking pants
- Underwear (2 pairs)
- Undershirt
- Smartwool socks
- Baseball cap
- Sunglasses
Toiletry
- Tom Bihn Travel tray
- Toiletries case
- Tissue travel pack
- Microfiber towel
- Insect repellent
- Sunscreen
- Toothpaste
- Toothbrush
- Eye mask
- Ear plugs
Safety
- Band aids
- Flashing rear light
- KT tape
- Paracetamol
- Vaseline
- Face masks (4)
- Hand sanitizer
Tech
- iPhone
- 5200 mAh battery pack
- USB AC adapter (2 outputs)
- Lightning cable (for iPhone)
- Micro USB cable (for battery pack)
- Earphones
Tools
- Printed maps / reservations
- Note book
- Pen
- Swiss Army Knife
- Credit card
- Cash
- ID
- Coins / purse
- Spare Ziplock bags
- Rubber bands
- Parachute cord (about 5m)
- Skate tool
- Spare bearings
- Bungee cords to hold skateboard
- Carabiners (attached to pack)
- Compass (attached to pack)
- Wrist watch (attached to pack)
Should have brought